ICM 1/48 scale
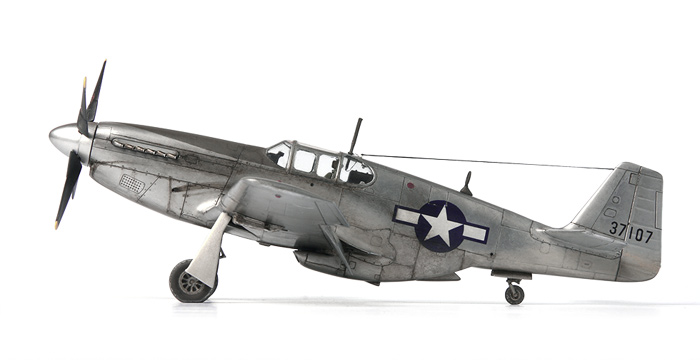
P-51B Mustang
by Sasha Miloshevic
 |
North American P-51B Mustang |

ICM's 1/48 scale P-51B Mustang with USAAF Pilots and Ground Crew
is available online from Squadron for only USD$24.76!
 This is my third model after a 15-year break, and my first natural metal finish. This is my third model after a 15-year break, and my first natural metal finish.
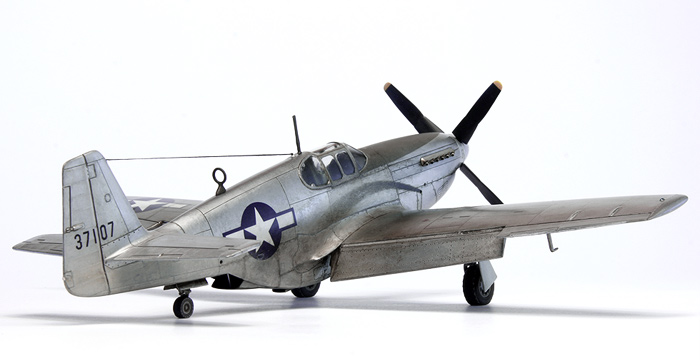
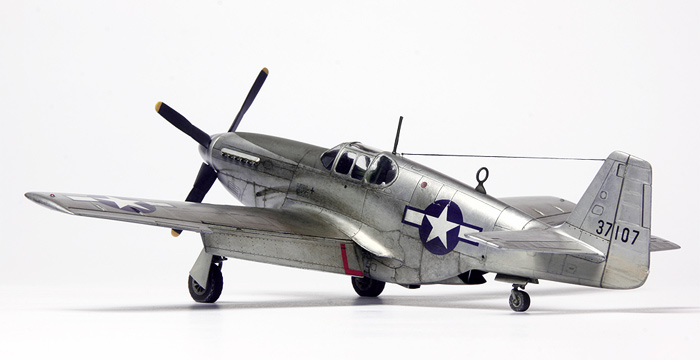
It represents a Mustang operating in China, 1944.
The build took several years to complete, including a few long breaks.
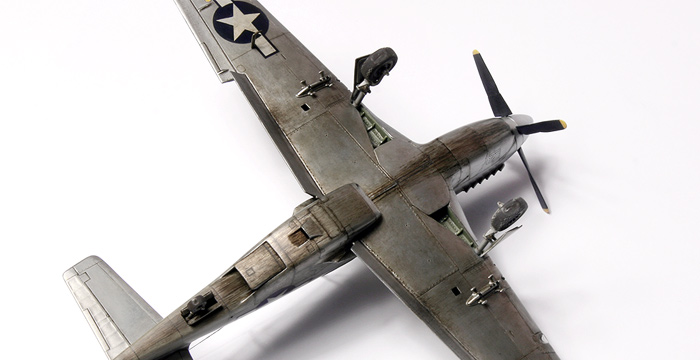
It's a very nice kit, although the plastic is a bit soft. I made the seatbelts and gunsight, hollowed out the exhaust stacks, added a loop antenna from the Academy's P-38 and scratchbuilt its base.
I thinned down the antenna mast and added its lower portion and wiring inside.
For the antenna wire I used a stretched cotton swab, as it's more flexible than sprue, but I overstretched it on one end. I added an actuating rod to the cooling air door.
I also replaced the canopy with a Taurus vacuform one, not because I meant to, though.
After all the painting and weathering was done, I messed up the canopy and side windows irreperably and had to remove them, keeping only the windshield.

I managed to ruin several Taurus canopies trying to cut them out properly and fair them in.
I didn't quite succeed after all, to put it mildly, but I'm glad it's finished.
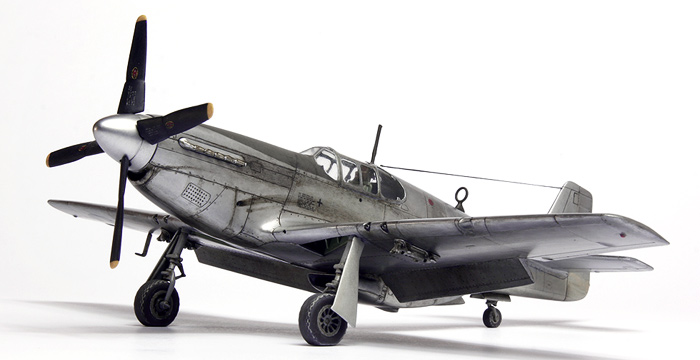
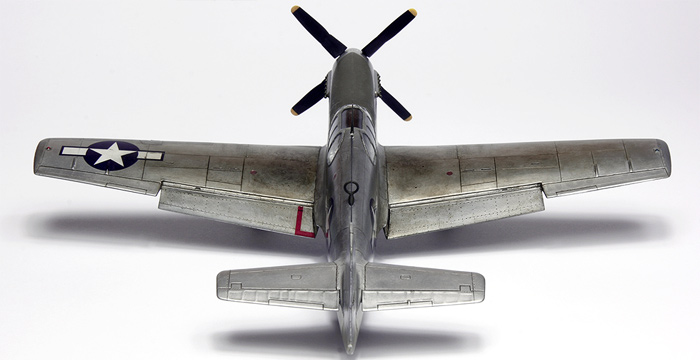
The model is brush painted. I achieved a natural metal finish with the Model Master Metalizer drybrushing technique.
I created several shades by buffing the aluminium or not, and by mixing in some magnesium for a darker shade. Spinner is primed with Tamiya acrylic XF16 prior to drybrushing.
The NMF was sealed with a local variation of the Future floor polish, Pronto.
National insignia is from the kit and the serial numbers are from the Kits World 148027 decal (numbering and letters for NMF P-51).
I used DecoArt artists' acrylics for panel lines.
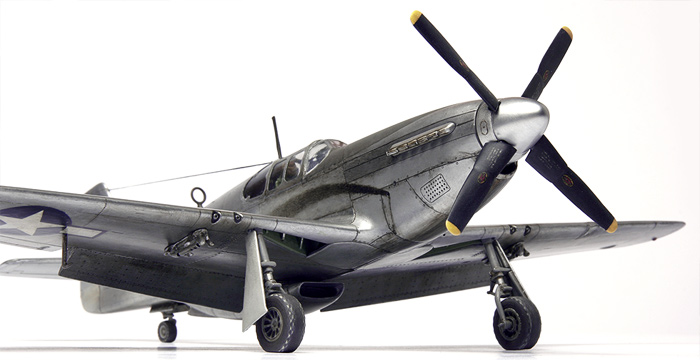
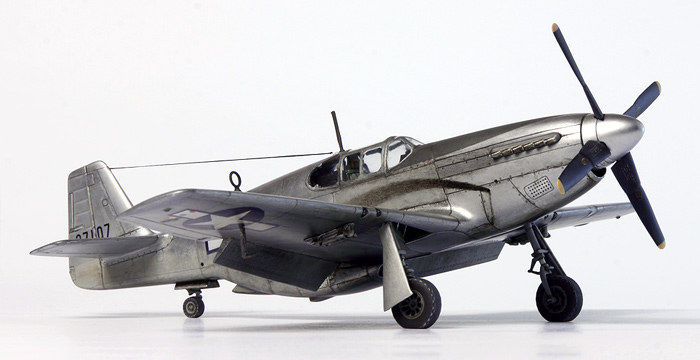
Weathering is done with oils and it's heavy as per the reference photo, but I may have overdone it in places. Oil layers were sealed with Pronto.
I used Humbrol Satin Cote for final coating, and Humbrol Matt 49 for the anti-glare area.
This build took too long to finish and was frustrating towards the end, but it's a valuable experience and I'm satisfied with the overall result.
Model, Images and Text
Copyright ©
2015 by Sasha Miloshevic
Page Created 21 May, 2015
Last Updated
21 May, 2015
Back to HyperScale Main Page
|
 Home
| What's New | Features | Gallery | Reviews | Reference | Resource Guides | Forum |
Home
| What's New | Features | Gallery | Reviews | Reference | Resource Guides | Forum |