Revell's 1/32 scale
P-51D Mustang
Cockpit Under Construction
by Brett Green
|
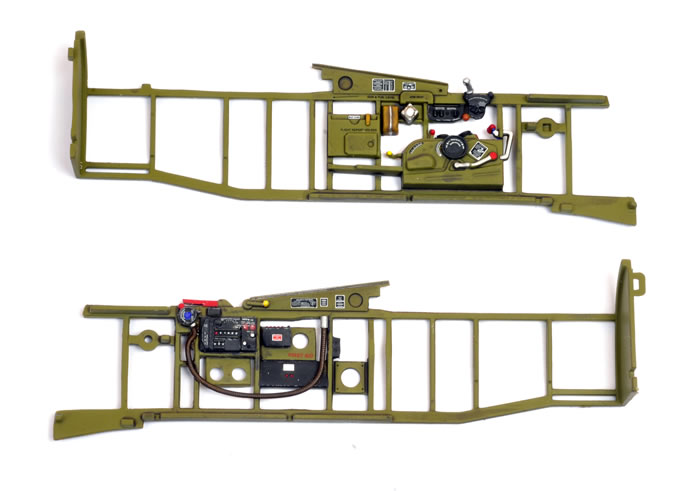
Revell 1/32 scale P-51D Mustang Cockpit |

Tamiya's 1/48 scale F4U-1A Corsair is available online from Squadron for only USD$25.99!
I have been working on the test shot of Revell's 1/32 scale P-51D Mustang this week, spending most of my time in the cockpit.
I have kept the build so far as close to "out of the box" as possible, but as I do not have the kit decals I have used BarracudaCals wonderful stencil decal set and a combination of Aeroscale and MDC instrument dials.
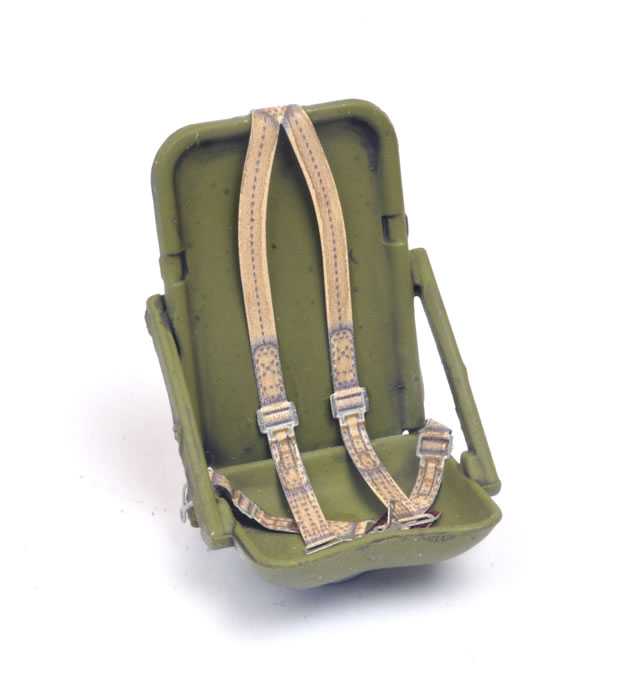
The early-style pilot's seat is supplied in four pieces. A late-style seat is included as an option.
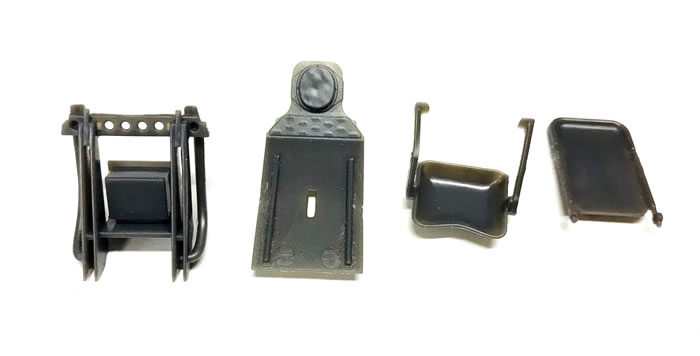
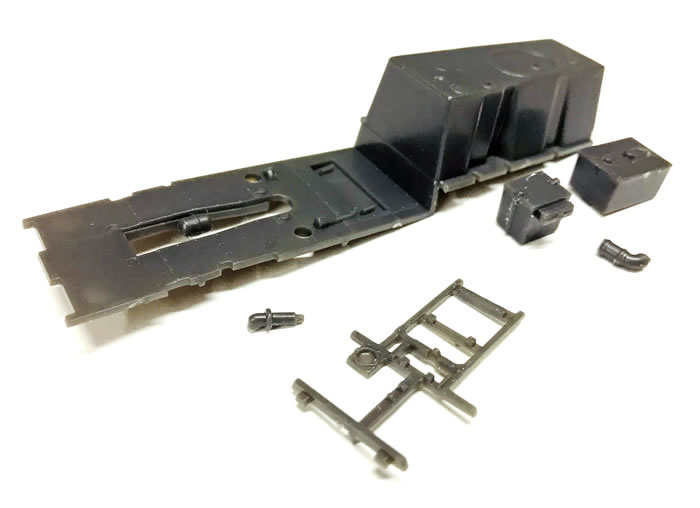
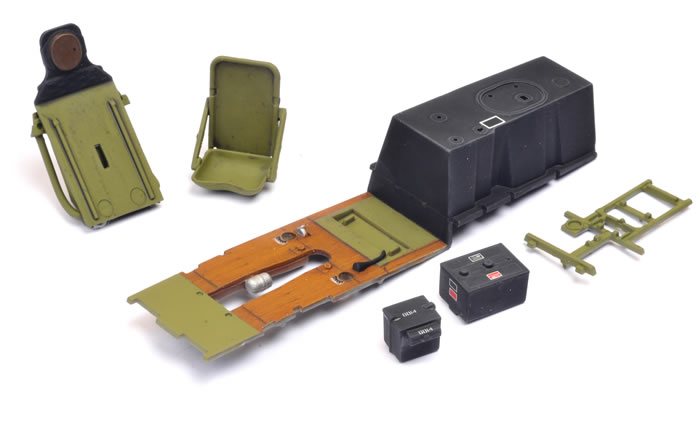
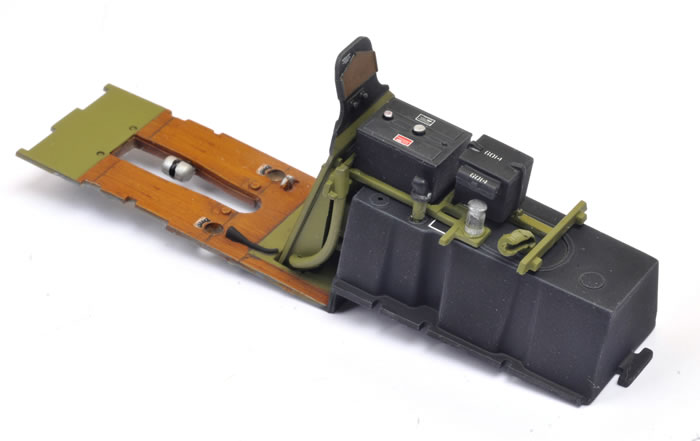
Cockpit floor elements including the fuel tank and battery.
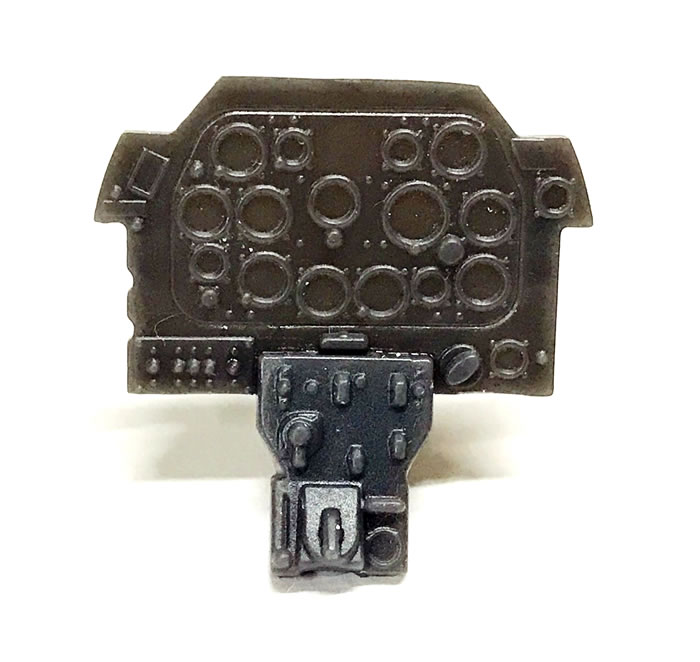
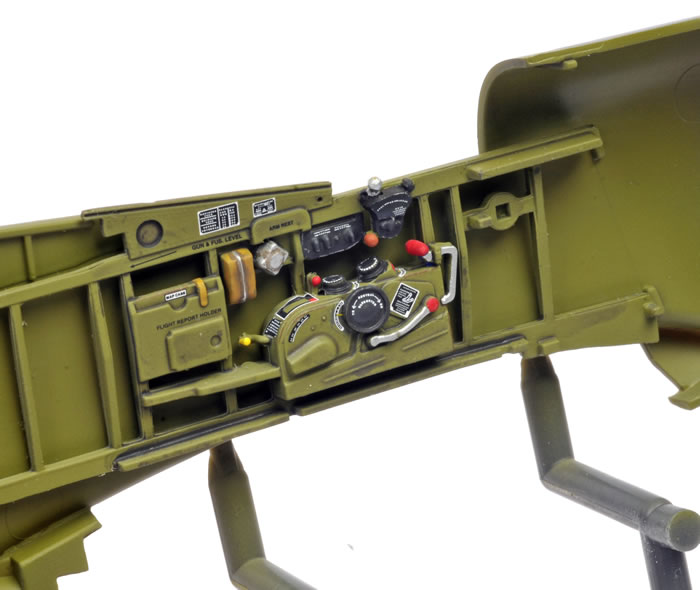
The instrument panel is the early P-51D configuration. Decals will be included for the dials in the public release.
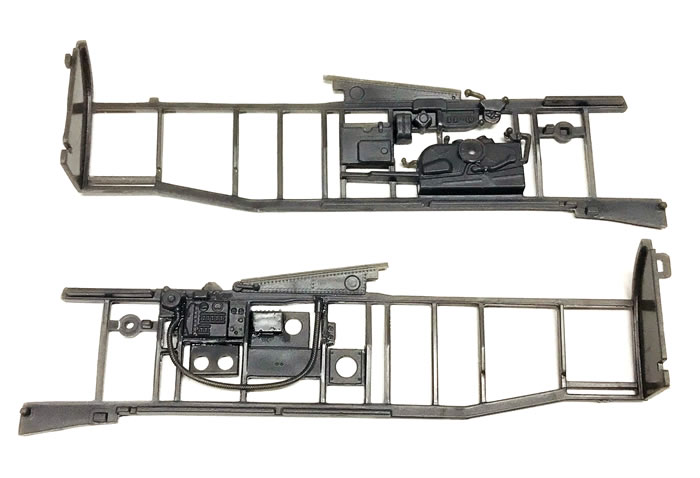
Sidewall parts awaiting assembly...

...and glued in place.
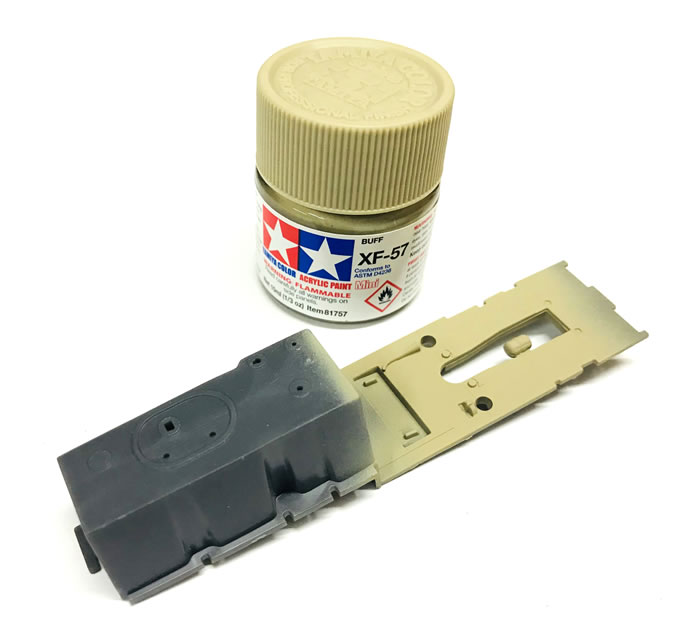
The wooden floor was most likely painted black on the real aircraft, but I decided to finish mine as varnised woodgrain. I started with a base coat of Tamiya XF-57 Buff.
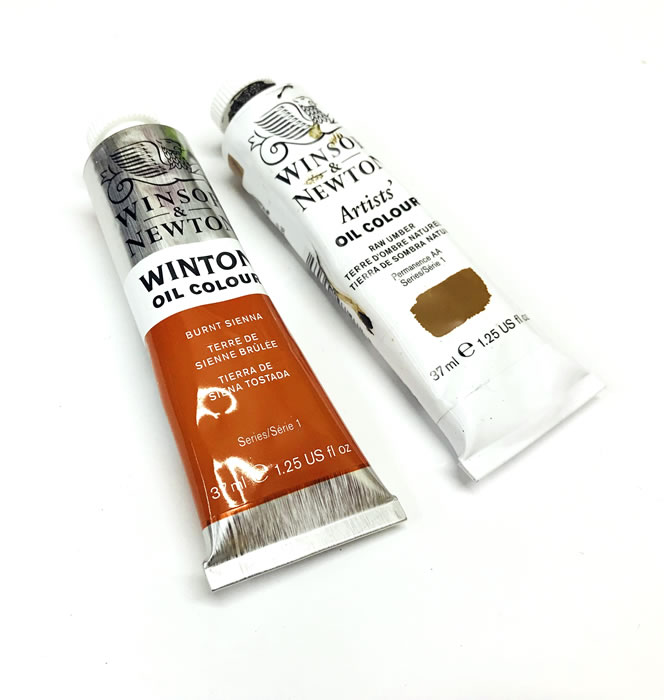
A mix of Winsor & Newton Burnt Sienna and Raw Umber oil paints was thinned with Mineral Turpentine...
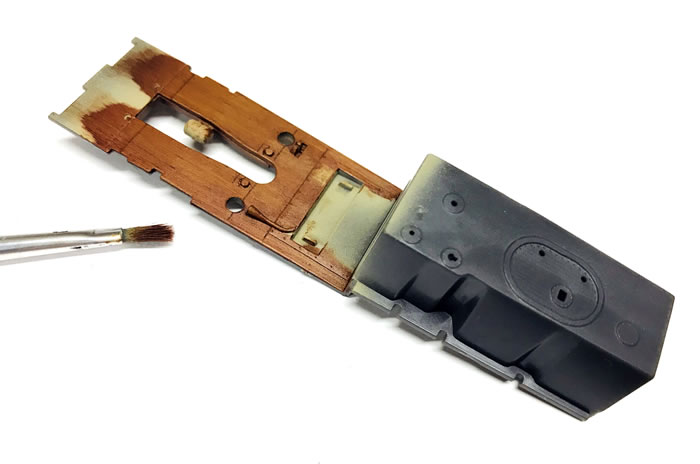
...and brushed onto the cockpit floor in a streaky application using a stiff brush.
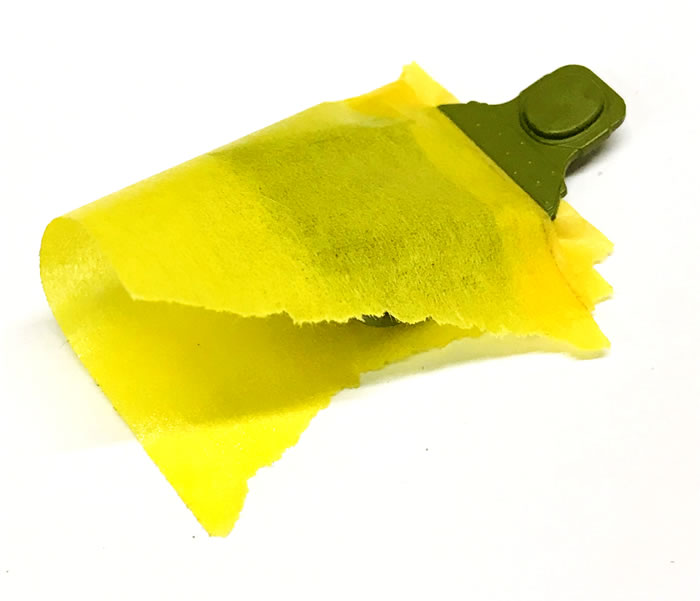
After allowing the oil paint to dry thoroughly, the woodgrain areas were masked...
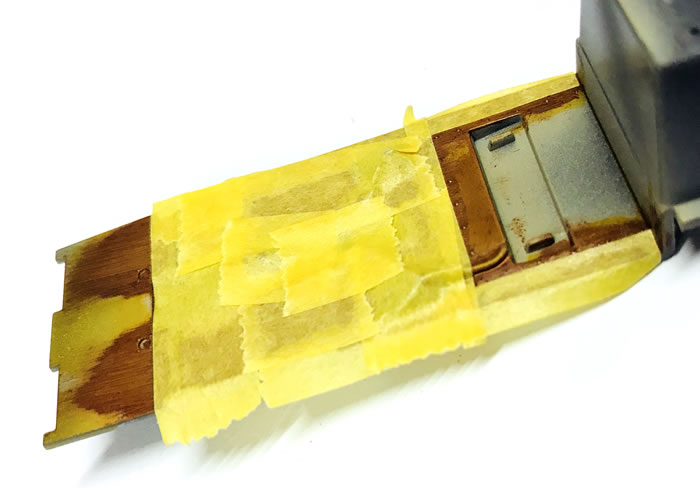
...and the rest of the floor was painted Gunze Acrylic Interior Green.

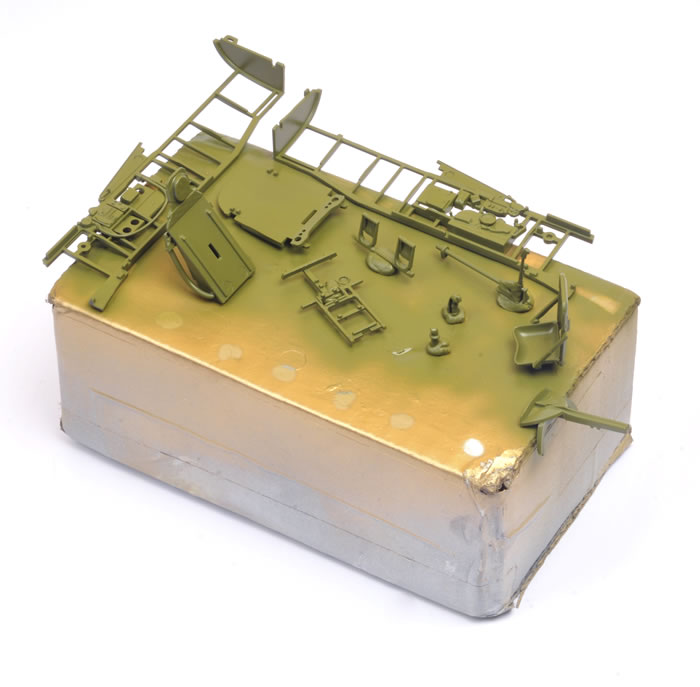
The rest of the Interior Green parts were sprayed at the same time. The parts were temporarily attached to a small box with Blu-Tack to make handling easier while painting.
Some parts, such as the pilot's armour and the fuel tank, had to be masked before receiving a sprayed coat of black.
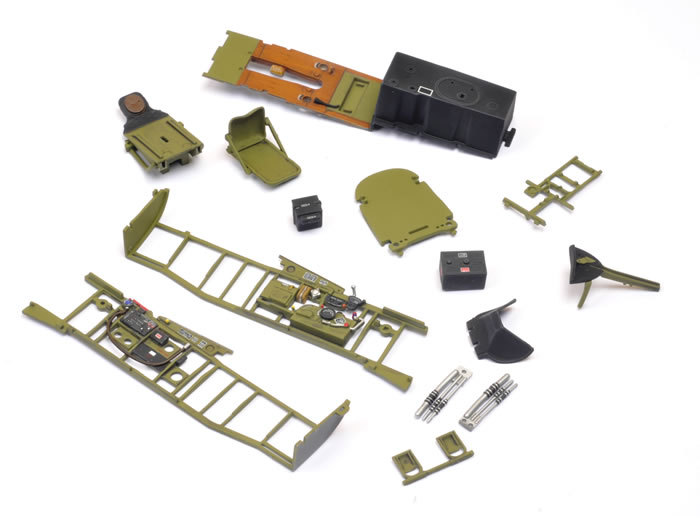
The main cockpit elements painted and awaiting assembly.
Revell's all-plastic cockpit is really well detailed. Weathering was limited to a wash of water and Future floor polish in equal quantities with a small amount of a black/brown acrylic paint added.
Cockpit sidewalls.
BarracudaCals' stencil decals are really the jewel in the crown. Here we have one of the sidewalls test fitted against the fuselage interior. A sub-set of stencil details will be included on the kit's decal sheet, but I can heartily recommend investing in Roy's full after-market Cockpit Stencils and Placards decal set.

The BarracudaCals stencils were designed for the Tamiya kit, but I would estimate that 90% of the decals may be used without modification.
The cockpit floor assembly complete and painted.
Eduard's 1/32 scale USAAF Seat Belts STEEL were used on Revell's plastic seat. These were easy to use and look good.
The seat fitted to the cockpit. Note that one of the sidewalls has been glued in place here.

The second sidewall has now been added. Fit so far has been really good and engineering is quite innovative.

Model, Images and Text
Copyright © 2017 by Brett Green
Page Created 12 October, 2017
Last Updated
13 October, 2017
Back to HyperScale Main Page
|
 Home
| What's New | Features | Gallery | Reviews | Reference | Resource Guides | Forum |
Home
| What's New | Features | Gallery | Reviews | Reference | Resource Guides | Forum | 