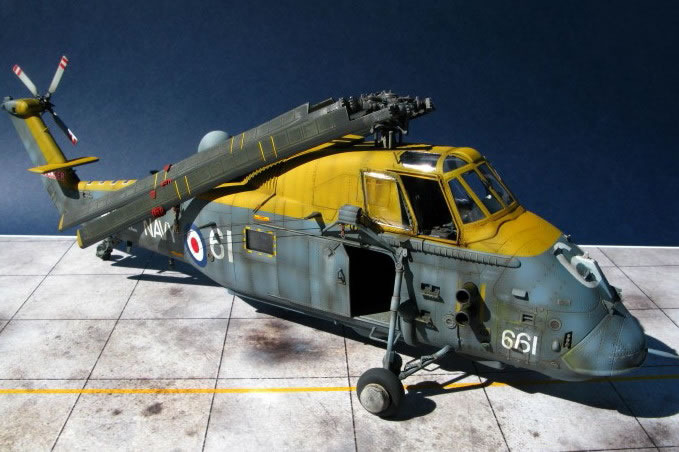
Italeri's 1/48 scale
Westland Wessex HAS.3
by Steve Pritchard
|
|
Westland Wessex HAS.3 |

Tamiya's 1/32 F-16CJ is available online from Squadron.com
Italeri 1/48 Wessex HAS.3. Kit No. 2732
Aftermarket Accessories:
-
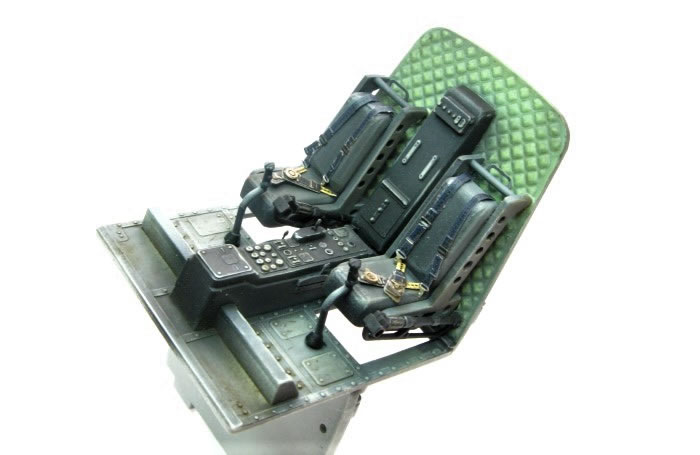
Eduard Wessex HU.5 interior Self Adhesive (FE622)
-
Eduard Wessex HU.5 exterior (48 754)
-
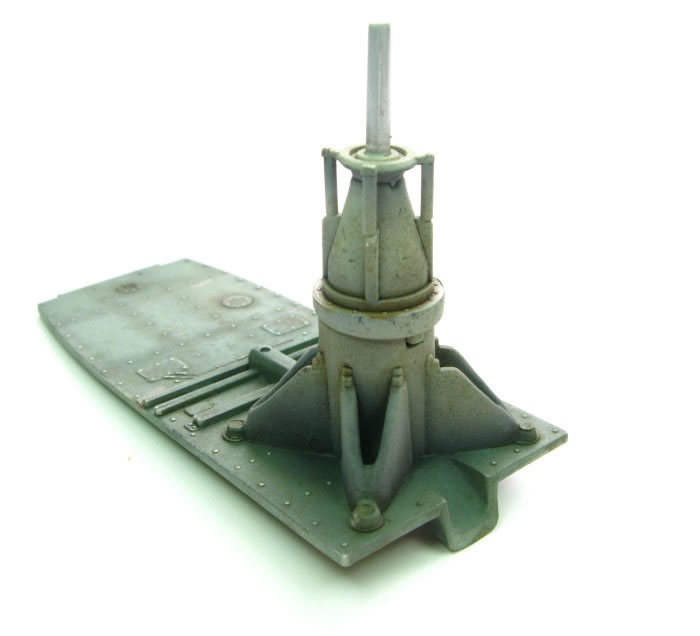
Scale Warship Wessex Blade Fold Detail Set
Paints Used:
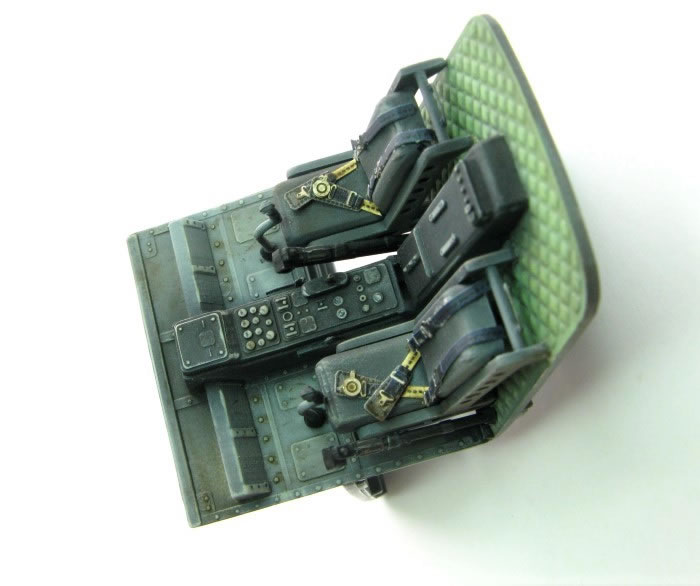
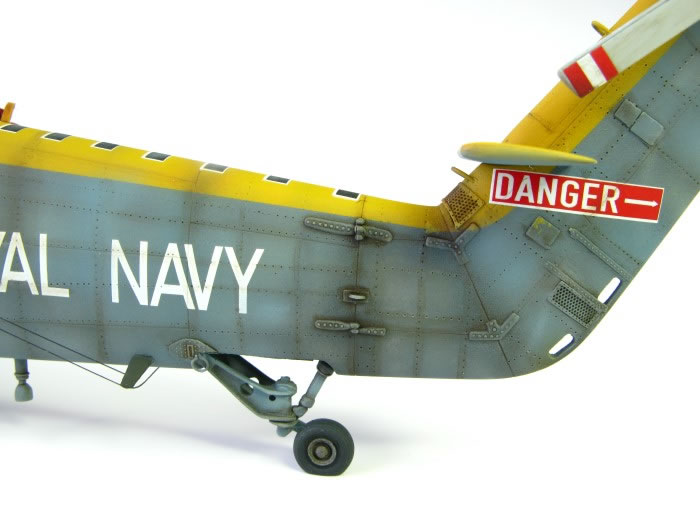
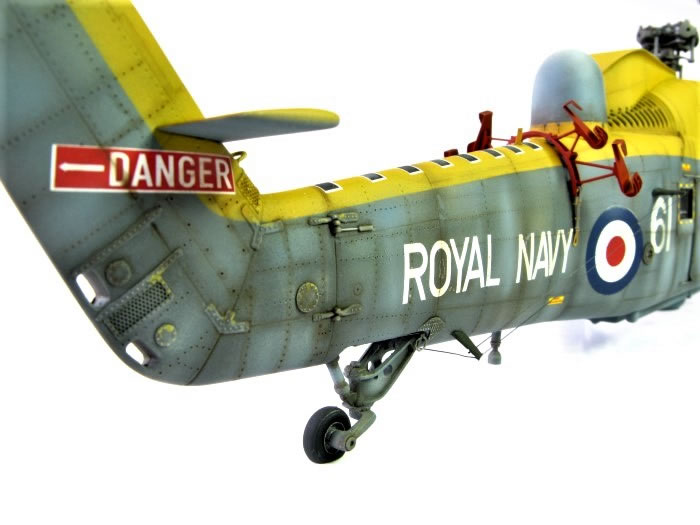
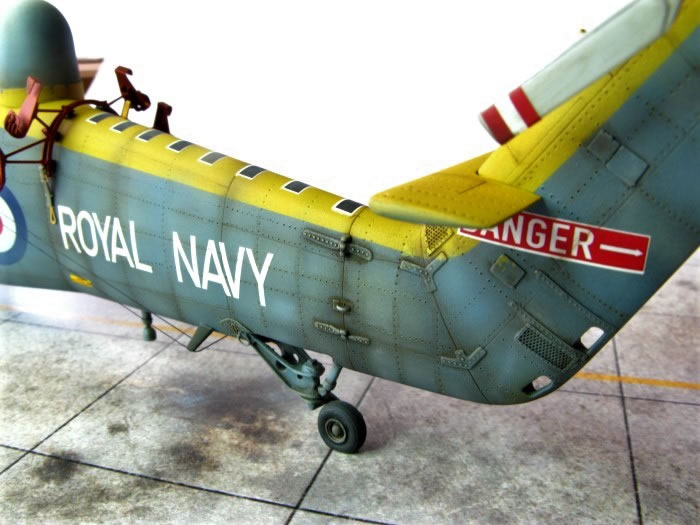
Humbrol enamels for the interior and matt 24 yellow with a drop of scarlet for the exterior yellow. Matt black for the preshading. Tamiya acrylic for the exterior blue topcoat – I had some left over blue mix from my recently completed 1/32 Corsair which seemed a good match, approx. 1:1 of XF-18 and XF-2, with oversprays of lighter and darker shades. Humbrol gloss polyurethane prior to decals and a final flat coat of Wattyl Matt Polyurethane. A thin wash of raw umber oil paint was also applied, mainly to panel lines and raised details.
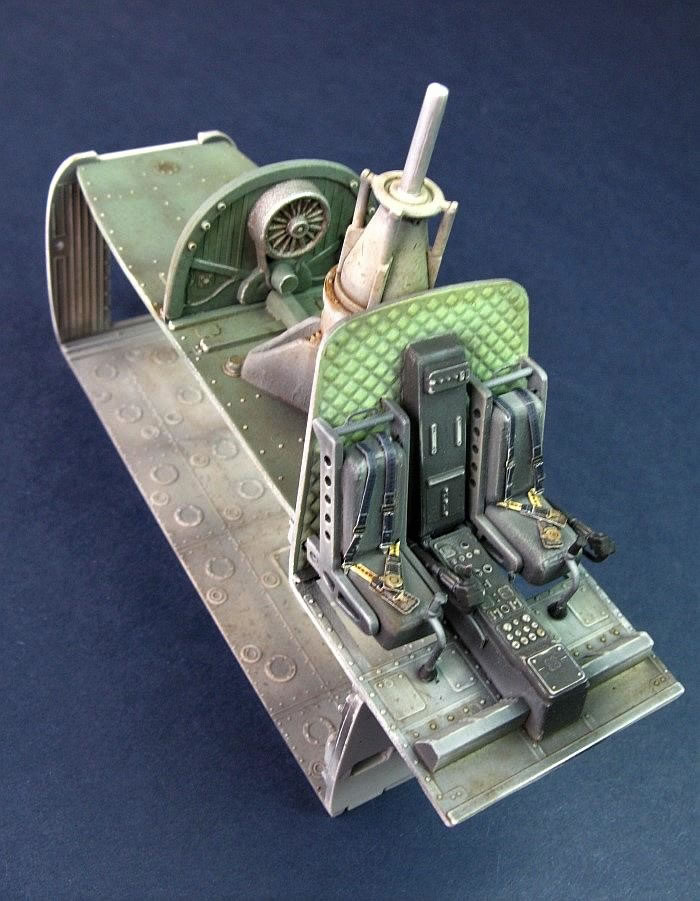
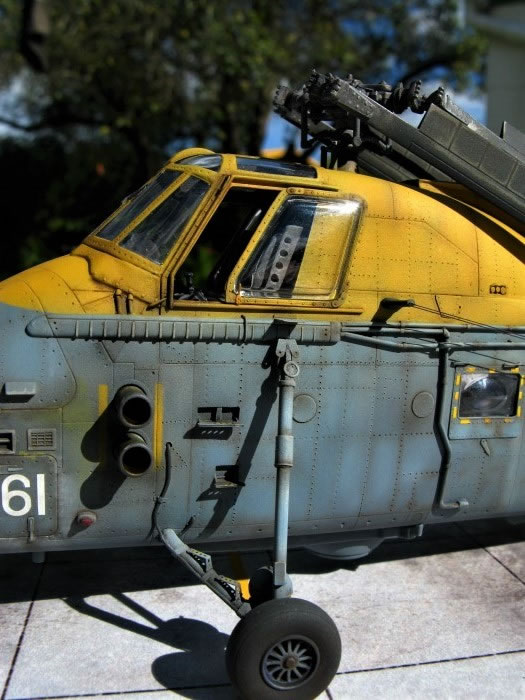
I initially was going to model the all grey scheme for the FAA 737 Squadron included in the box, adding extra detail mainly to the exterior. Consequently, I used the parts from the Eduard HU.5 sets that looked appropriate for the HAS.3, plus a little extra wiring to busy up the airframe.
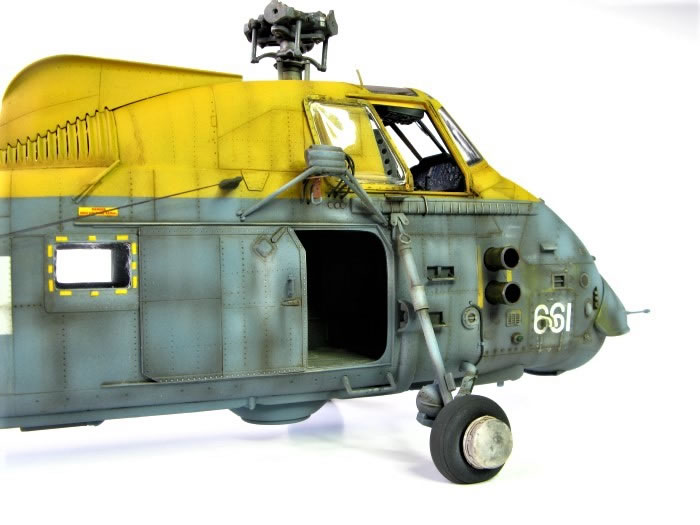
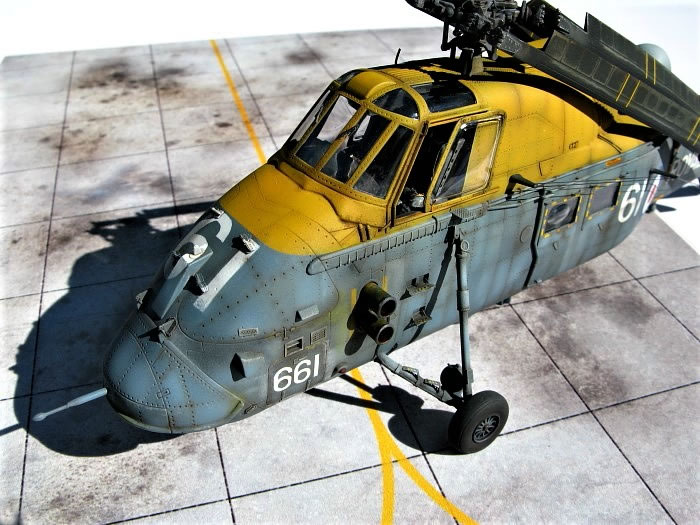
I then came across several photos on the internet showing very weathered machines in various states of disrepair, presumably awaiting final scrapping or perhaps restoration. I also found Jamie Haggo’s terrific model of a Wessex in just such condition and decided to change course and have a go at this extreme weathering. Most of the images I located show the aircraft stripped of a lot of equipment, but I hadn’t the heart to undo what I had already added, so my effort is not a true reflection of any particular aircraft.
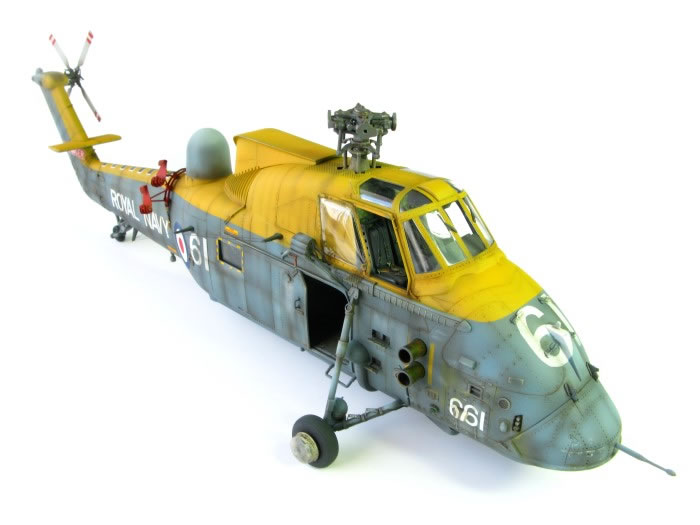
Overall construction was fairly straightforward, location of some of the parts is a little imprecise, but the plastic takes liquid cement well and any joins are easy to sand.
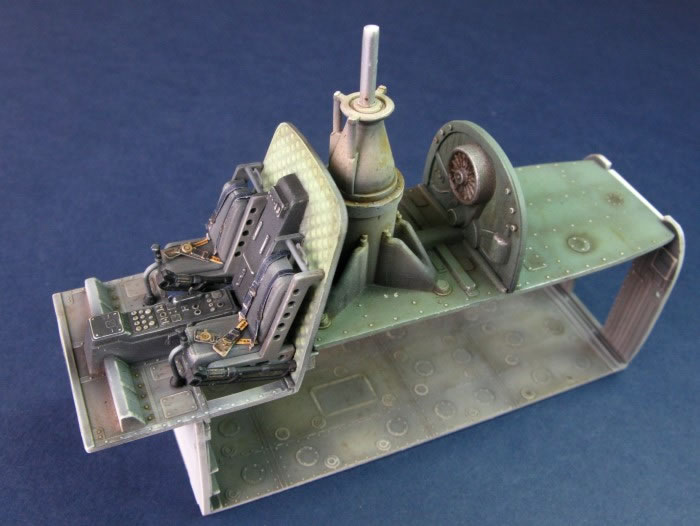
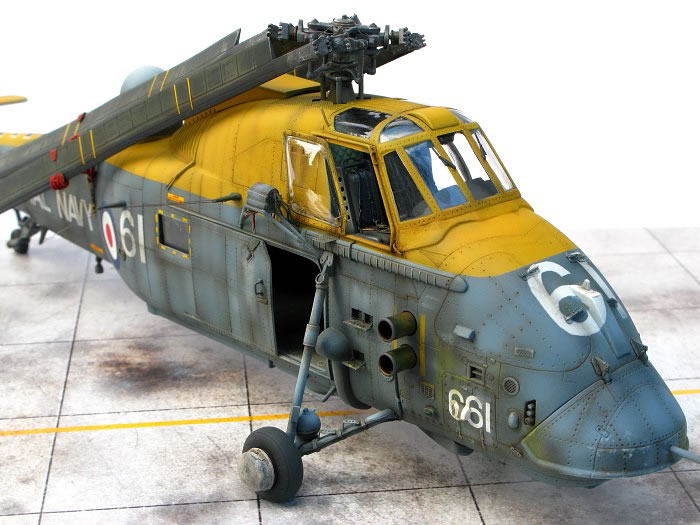
The Scale Warship blade fold set assembled easily – the photos in the instructions are a little small but there are many helpful images on the net.
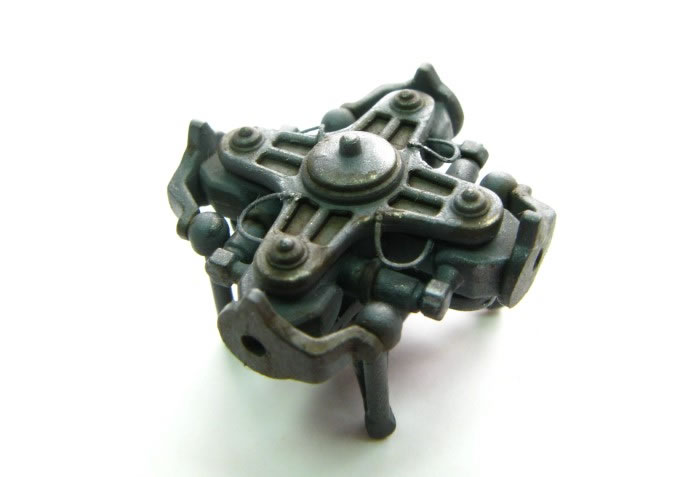
The fit of the 3D printed blade and rotor head hinges was so good I didn’t need glue to hold them in position.
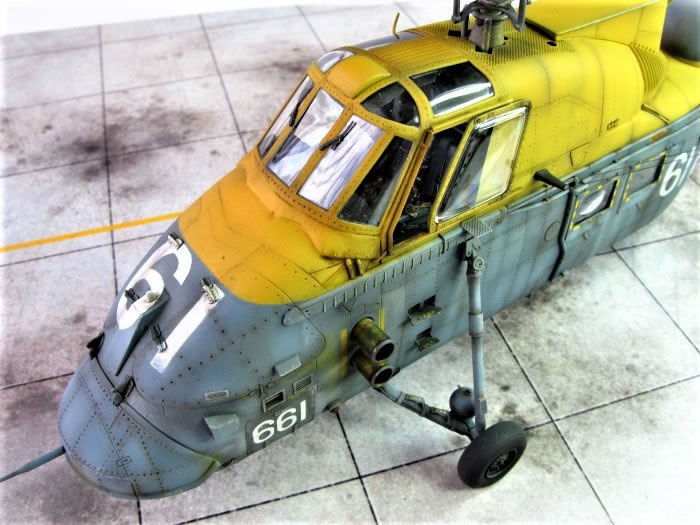
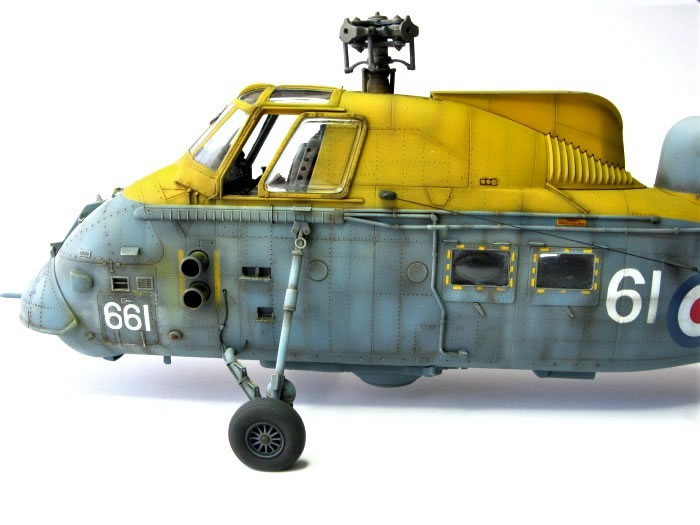
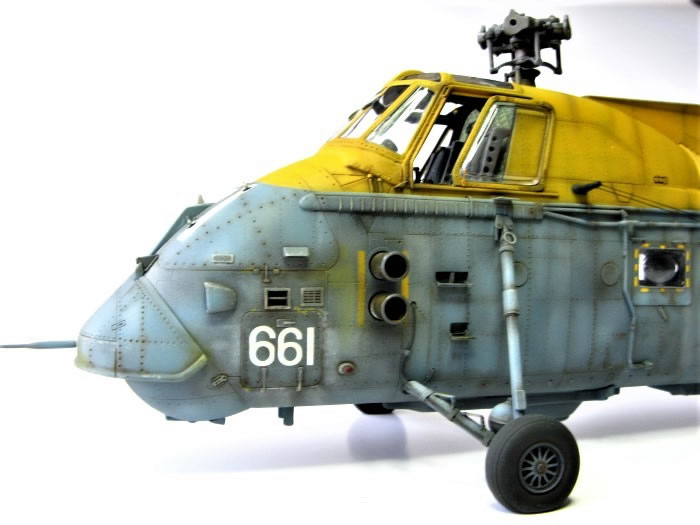
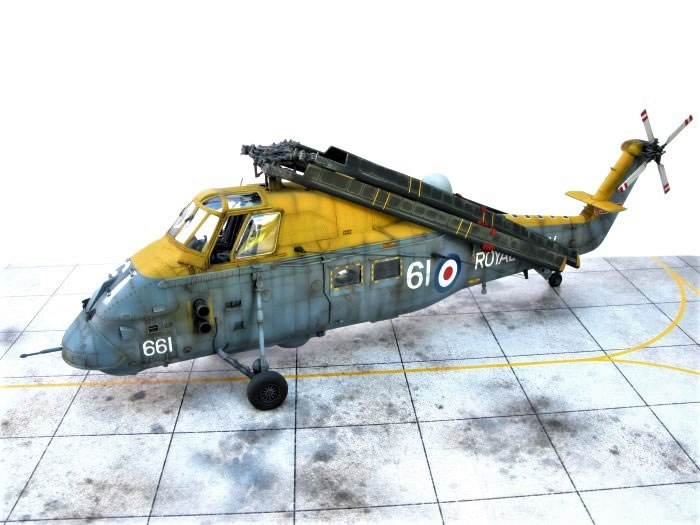
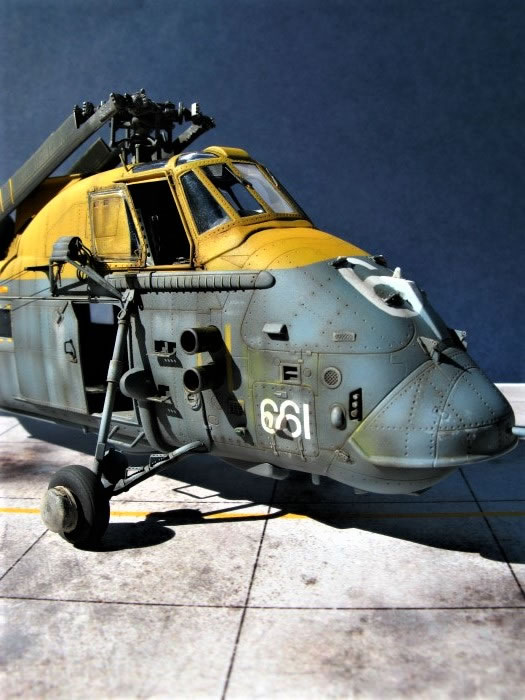
I chose to paint my model with the markings for 611, which is an aircraft with several images available on the net. I used the kit decal sheet numbers for the small 611. As there were no large 6’s I cut out these out in Tamiya tape, having made a template on a Word Document with numbers that more or less match the font type and size of the larger numbers on the kit decal sheet.
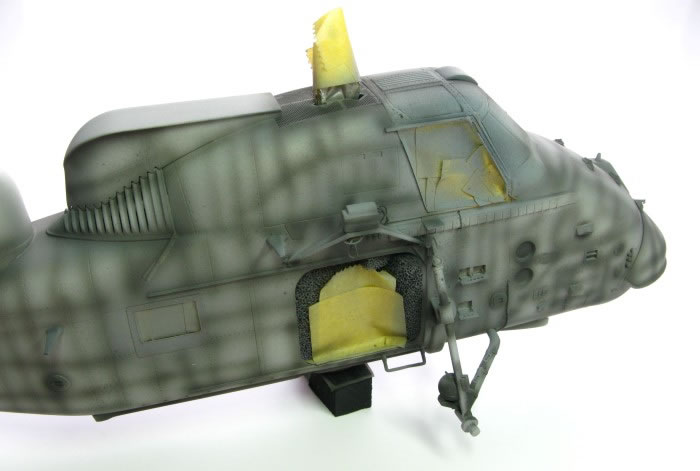
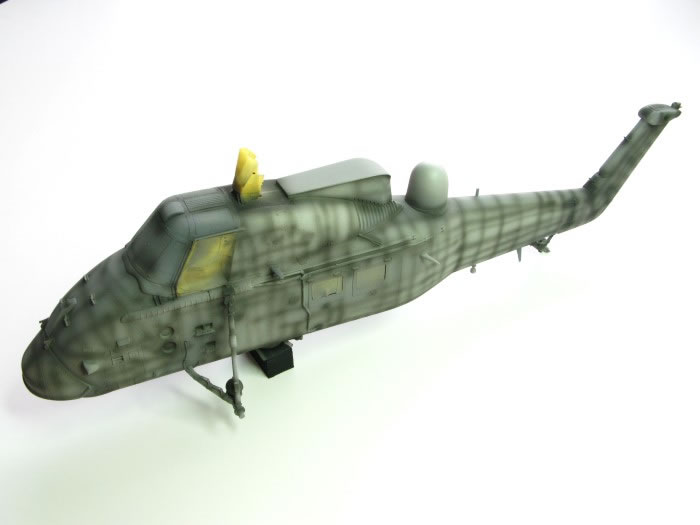
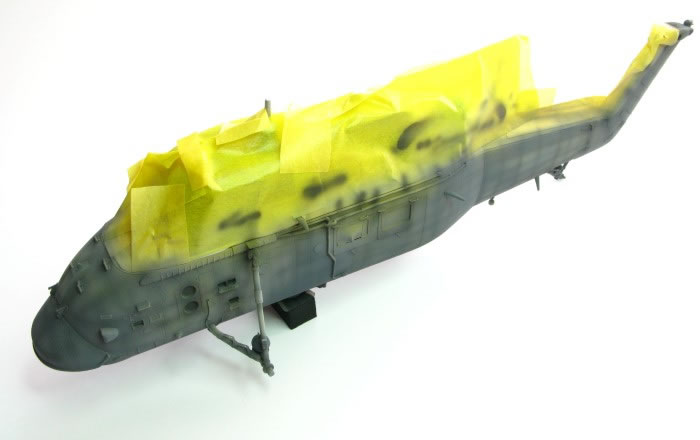
I used my normal technique of preshading with matt black followed by the main colours, yellow and blue. Masking the yellow was a bit tricky, mainly because of the added detail around the demarcation line. This wouldn’t have been an issue if I had stayed with the original all grey plan, of course. I used ‘Tamiya 2mm masking tape for curves’, and was pleasantly surprised when unmasking, to find very little overspray.
The main rotor blades were painted a very dark green with black leading edges – the green was sanded back to give a well-worn look.
Overall, an enjoyable project – the basic kit is well detailed, assembled without much trouble and painting such a weathered scheme was very enjoyable.
Steve Pritchard.
Christchurch
New Zealand
Model and Text Copyright ©
2018 by Steve Pritchard
Page Created 19 June, 2018
Last Updated
19 June, 2018
Back to
HyperScale Main Page

|
 Home
| What's New |
Features |
Gallery |
Reviews |
Reference |
Forum |
Search
Home
| What's New |
Features |
Gallery |
Reviews |
Reference |
Forum |
Search