Zvezda 1/48 scale
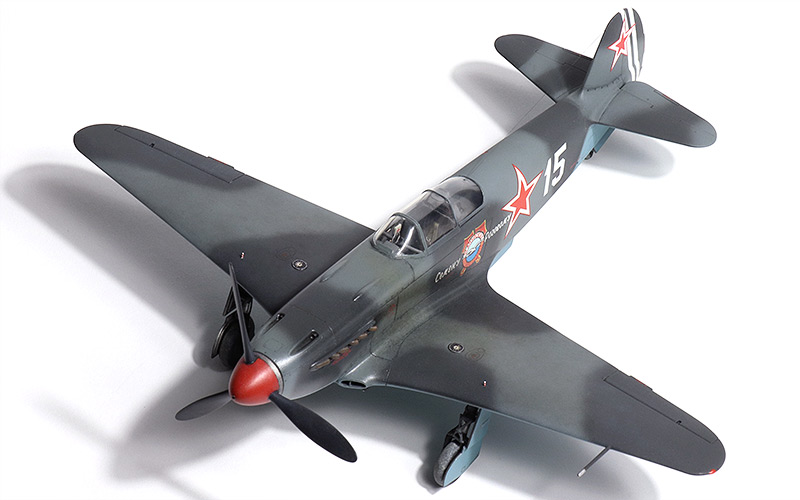
Yakovlev Yak-3
by Sasha Miloshevic

My model building was on hiatus for several years and I returned to it two years ago when I started to work on this model. I lost interest after almost completing it, started several other builds without finishing any, and a month ago I decided it's time to finish it.
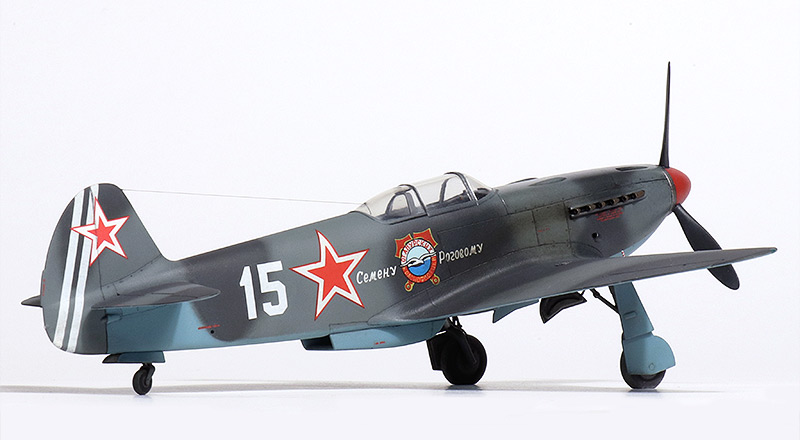
This is my first model painted with an airbrush. It represents the mount of Semyon Rogovoy, a Soviet fighter ace, towards the end of WWII.
It's a simple little kit with a lot of room for improvements. I used Quinta Studio cockpit details, scratch built the top armor plate, made a hole in the aft canopy and added an antenna wire from stretched sprue. Main canopy part was warped and had to be pressed to align with the fuselage. I extended the bottom frames of the windshield and main canopy with very thin stretched sprue, to make them more accurate.
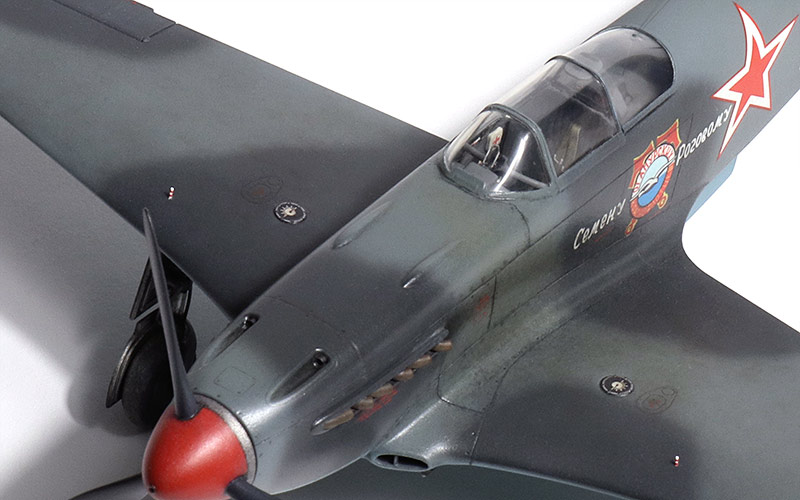
I hollowed out the exhaust stacks and painted them without dry-fitting. Eventually it turned out they had to be sanded down considerably in order to fit the openings. I widened the corners of the wing root air intakes, as they didn't look right. There were no gun openings on the nose, so I added some detail there. The pitot was replaced with a metal pin, and landing gear indicators were added on upper wings at the very end.
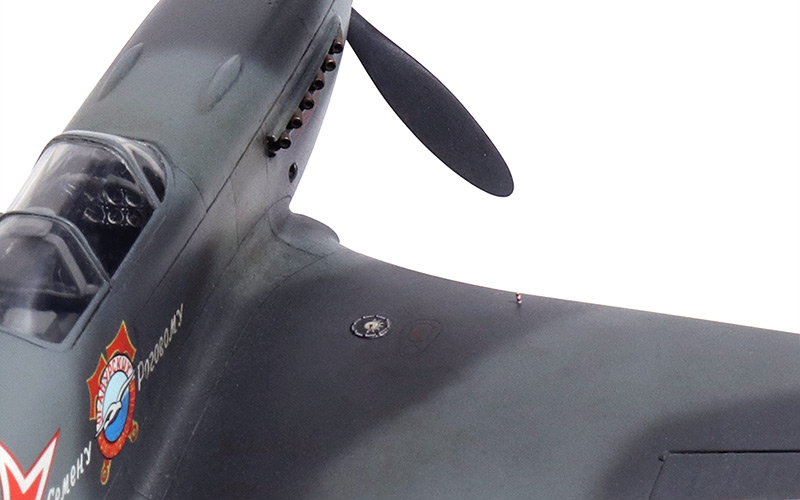
Main landing gear received minor improvements like brake lines made from wire, and more accurate, albeit crude, representations of the torque links. Tail wheel was separated from the fuselage mount, to be added after painting, and had its fork gouged a bit at the bottom for more accuracy. Main wheels were flattened, unlike the tail wheel, which should have been flattened a bit as well.
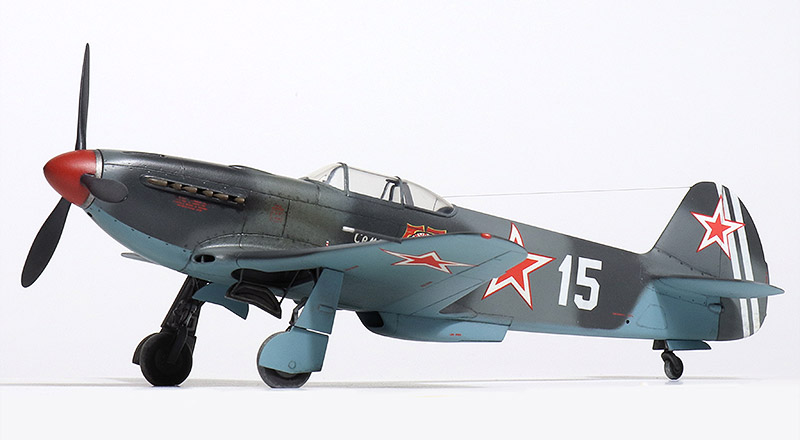
Zvezda omitted the self-opening/closing mechanism of the main wheel cover hanging under the fuselage, so I made a simplified representation of this prominent detail from wire. I painted and weathered the parts separately and didn't properly dry-fit anything. That was a big mistake. When everything was completed,
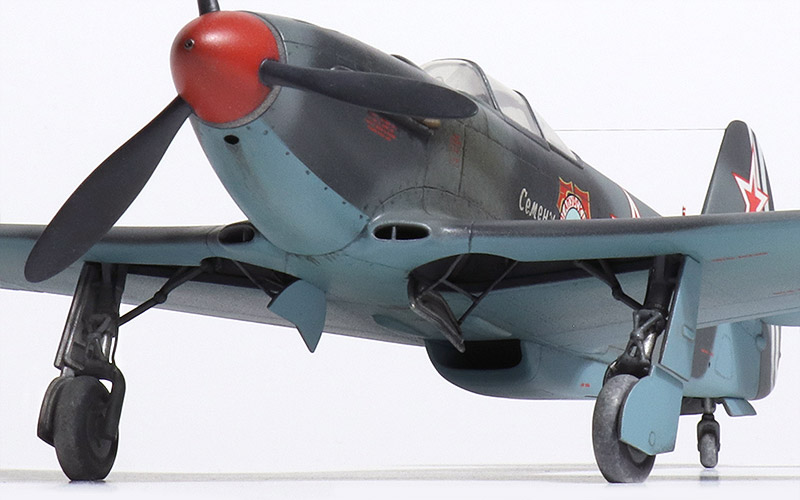
I glued the main legs and it turned out they can't fit all the way in and are tilted inwards too much. It was a tight fit so I just left it like that. It's not too obvious, except from head on. I also messed up the tail wheel by not attaching it deeper into the fuselage, which resulted in too high ground clearance.
The canopy was masked with the Eduard masks prior to painting the canopy frames in cockpit color, and priming everything with Mr Surfacer 1200. Akan acrylic AMT-7 light blue (with a bit of white for scale) was used for the undersides. Top light gray is a custom mix of several Akan acrylic grays and some green, and dark gray is Akan acrylic AMT-12 (with a bit of white for scale) applied mostly freehand.
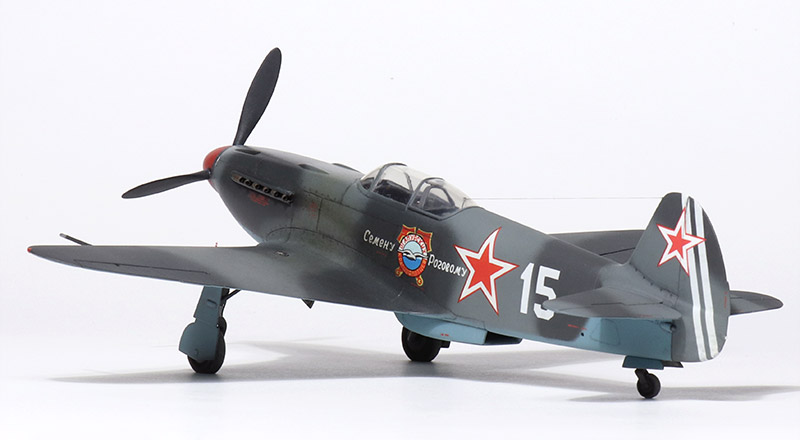
All was sealed with a local floor polish and decaled. Mr Mark Softer was used on the decals. I think I should have left the stencils out, they look awkward and are rarely seen on the wartime photos. I then applied the craft acrylic panel line wash, followed by the artist oils weathering, and some more sealing in between.
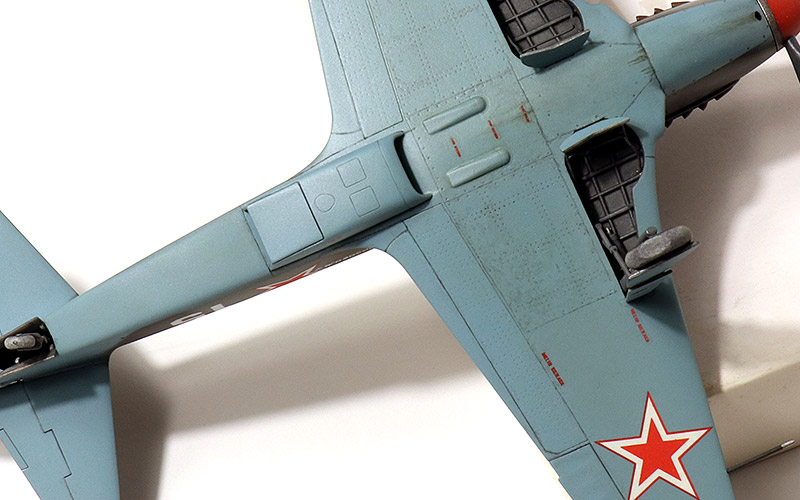
I wanted to represent the difference between metal and wooden surfaces and areas of high wear, so I coated the front fuselage and inner wings with Humbrol enamel Satin cote and the rest with Model Master enamel Dullcote.
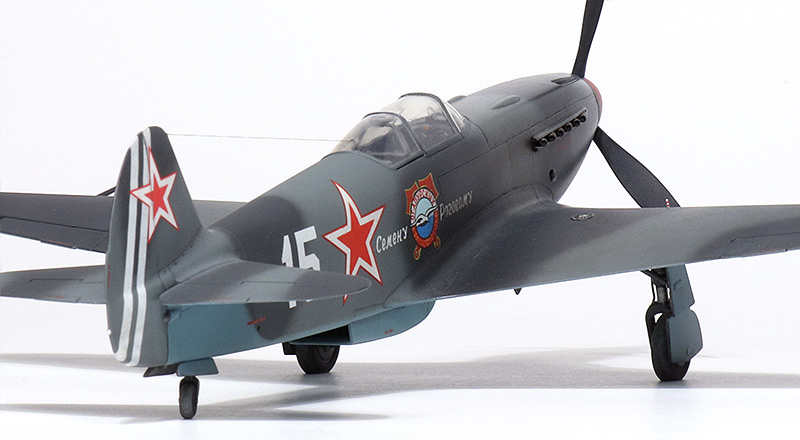
The antenna wire is Uschi's Superfine rigging. It's a very delicate and elastic thread, frustrating to work with (my first). I managed to mess up the aft canopy with superglue trying to attach it, and the tail end should have been attached a bit lower. Also, navigation lights should have been just small blisters centered in the oval shapes I wrongly painted as lights. Oh well...
It was a messy build with many lessons learned, and I'm so happy it's finally finished!
Model, Images and Text Copyright ©
2024 by Sasha Milosovic
Page Created 28 May, 2024
Last Updated
28 May, 2024
Back to HyperScale Main Page

|
Home
| What's New | Features | Gallery | Reviews | Reference | Resource Guides | Forum |